· Marisol Vance
Ukulele Strap Without Drilling
It comes up on every ukulele forum: the only way to make a strap fit is to have a button screwed into the body, and nobody wants to drill an instrument they just bought. Three routes need no drilling at all.
Why drilling is the one decision you cannot take back
A fitted strap button is a screw driven into the tail block, the solid wood where the two sides of the body meet. It works, and a tech charges very little for it. The catch is that the hole stays: on a $50 soprano, filling and refinishing it later costs more than the ukulele is worth.
That is the argument for trying a reversible route first. None of the three below is a compromise on safety; what changes is how positively the uke is held, and which part of it takes the load. The button itself is covered in our strap button guide.
The three no-drill routes at a glance
Each route leaves the ukulele exactly as it found it.
| Route | What it needs | What it touches | Hold |
|---|---|---|---|
| Hook onto an existing button | A tail button already fitted | The button only | Firmest |
| Soundhole hook | A clip-on hook, a few dollars | The soundhole rim | Good, if the lip is padded |
| Headstock tie | A lace, nothing else | The neck behind the nut | Lightest, most movement |
Route 1: hook the strap to the button you already have
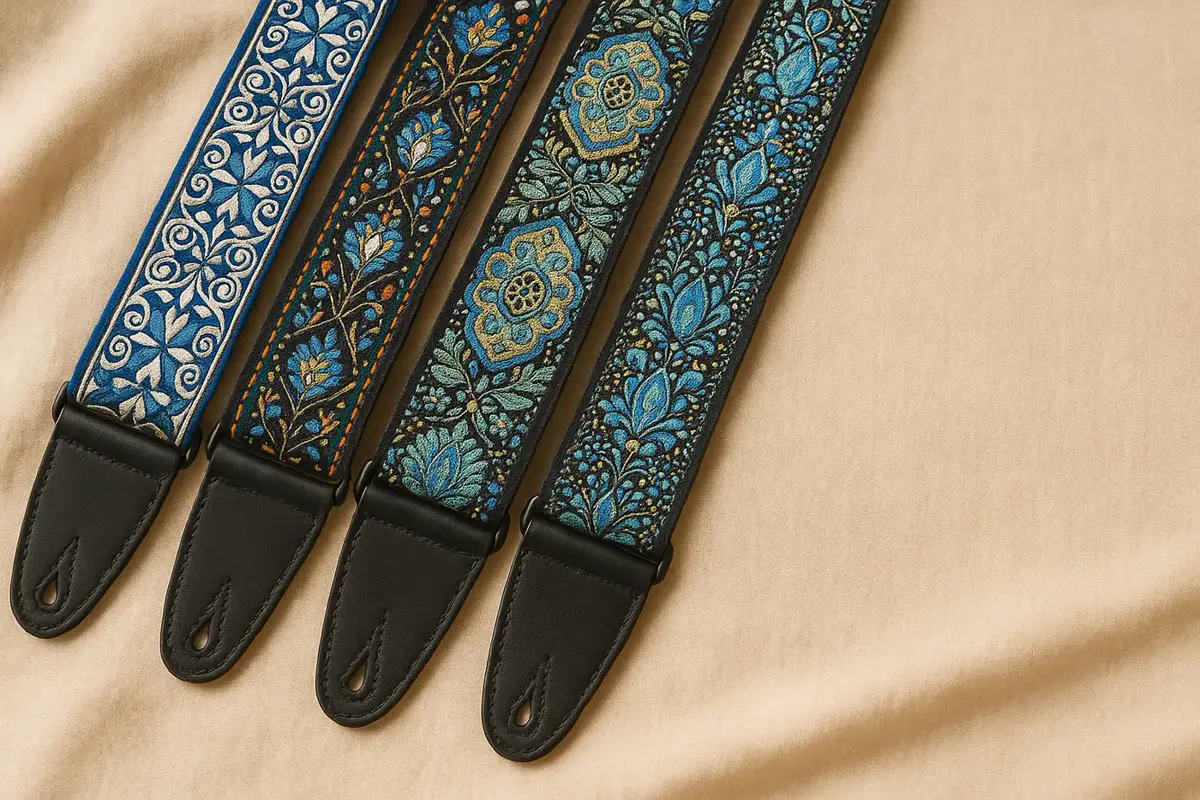
Plenty of concert, tenor and baritone ukuleles leave the factory with a single button at the tail, and owners do not always notice it. If yours has one, you already own a no-drill setup: the keyhole slot in a leather strap end slides over the button head, and the narrow part of the slot holds it there.
This is the firmest of the three, because the load sits on a fitting the maker put there for that job. A verified buyer said it plainly after using ours on an electric: "The leather ends grip the buttons perfectly."
The top end still has to reach the headstock, and the step-by-step for that loop lives in our guide on how to put a strap on a ukulele.
Route 2: the soundhole hook, and what it rests against
With no button, a clip-on soundhole hook is the usual answer. It deserves care, because the hook grips the rim of the soundhole: the thinnest area of the top, immediately next to the rosette.
Three habits keep that safe. Use a hook with a felt or plastic-coated lip, never bare metal against bare wood. Seat it on the part of the rim closest to the tail, so the strap pulls along the length of the top rather than dragging across the rosette inlay. And unclip it before the ukulele goes back in its case, since a hook left on presses on one small point for weeks.
Avoid two things outright: an oversized hook meant for a guitar soundhole, which cannot seat on a soprano rim, and any hook you must force past the rosette. If it needs force, it is the wrong hook. Which one to buy is in the attachment guide.
Route 3: the tie, when you would rather touch nothing
The last route uses no hardware at all. A thin lace goes around the neck behind the nut and cinches the top of the strap to the headstock, so nothing rests on the soundboard and nothing goes near the rosette. It is the gentlest option available.
It is also the least positive of the three. A knot can creep as you move, and a strap anchored at the neck lets the body swing more than a tail fixing does. For seated practice and short sets it is fine. Before you stand up, pull the knot snug and check it again after the first song.
Which route suits your ukulele
Start by looking, not by buying. Run a finger along the bottom edge of the body at the centerline: if a button is there, route 1 costs you nothing. If the edge is bare, the choice comes down to how you play. Standing and moving points to the hook; seated practice, or a finish you would rather not touch, points to the tie.
One case deserves a warning. A headstock-heavy ukulele, common when the tuners are geared rather than friction pegs, wants to dive neck first. A tie anchored only at the neck makes that worse, so favour an anchor toward the tail.
What we found mounting all three
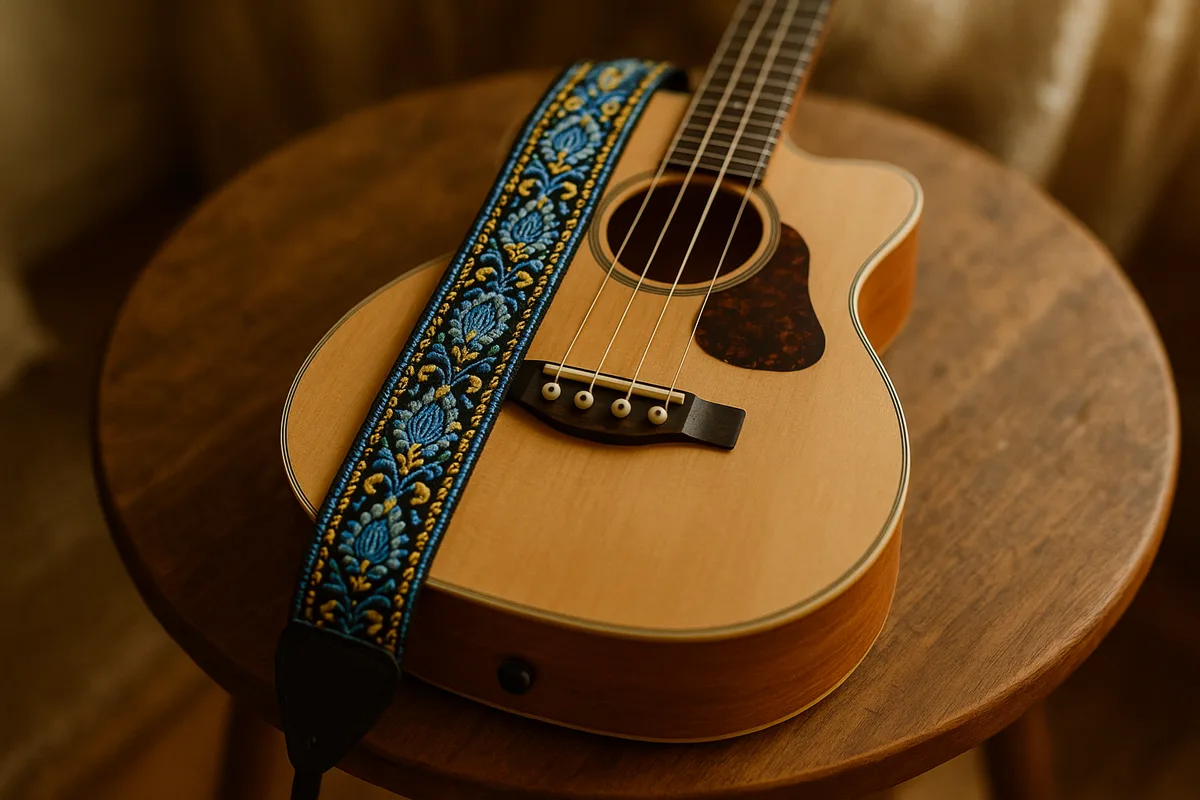
We set the same strap up three ways: on a concert ukulele that shipped with a tail button, then on a soprano with no button, using first a padded soundhole hook and then a headstock lace. Ranked on how little re-adjusting each needed across a full practice session, the order came out the same every time: button first, hook second, tie third. The lace was the only one that wanted the knot pulled back up part-way through. None left a mark. Our criteria are on the how we test page.
Band width, unchanged whichever route you use
— Fretweave product specification, 2026
Adjustable range, which is what leaves enough strap for a headstock loop or a tie
— Fretweave product specification, 2026
Money-back window, long enough to try a reversible setup first
— Fretweave refund policy, 2026
Whichever anchor you choose, the strap end matters: leather keyhole ends work with a button and a soundhole hook alike, which a slit in nylon webbing does not. That is how our embroidered ukulele strap is built, and the same band moves onto a guitar or a bass. Picking a pattern next? The vintage and boho style guide covers that.
Frequently asked questions
Can I use a strap on a ukulele with no strap button at all?
Yes. A clip-on soundhole hook gives you an anchor at the body with no modification, and a lace tied around the neck behind the nut needs no hardware. Both come off cleanly, and against a fitted button you give up only a little firmness.
Will a soundhole hook damage the rosette or the finish?
Not if you place it properly. Use a lip of felt or coated plastic rather than bare metal, seat it on the rim closest to the tail so the pull runs along the top instead of across the inlay, and unclip it before the case.
Is a no-drill strap secure enough to play standing up?
For practice and small gigs, yes, particularly the existing-button and soundhole-hook routes. A tie suits seated playing and short sets better. If you gig weekly and move on stage, a fitted tail button is still the most positive fixing.
What is a ukulele strap with hooks, and what does the hook actually hold?
The hook is a small clip that seats on the rim of the soundhole and gives you an anchor where no button exists. It carries the lower end of the strap and the weight of the body, nothing else. The top end still loops or ties to the headstock. Some players with a tie-bar bridge run the lace round the bridge instead. Nothing is drilled, and the clip lifts straight off.
What does a homemade ukulele strap actually give you?
A length of ribbon or cord tied at both ends will hang a light soprano off your shoulder, and that is where it stops. What a made-up rig has no way to add is a leather keyhole end that seats on a button or a soundhole hook, a 5 cm band that spreads the weight rather than cutting in, and two sliders that set the length and hold it. Knots creep, and cut ribbon frays under the pull.

Marisol Vance · Ukulele teacher and strap collector, 9 yrs
Marisol has taught ukulele for nine years and re-strapped more than 200 instruments, most on no-drill setups because student ukuleles rarely arrive with a button.